 in Chromium") 08
08
Aug - 2020Raspberry Pi
4 min | 226871#Raspberry Pi 4: Hardware accelerated video decoding (GPU) in Chromium
Raspberry Pi | 4 min | 226871
Table of contentShowTwo months ago, I wrote a tutorial that explains how to get DRM support on Chromium on the Raspberry Pi. If you follow the steps of that tutorial:
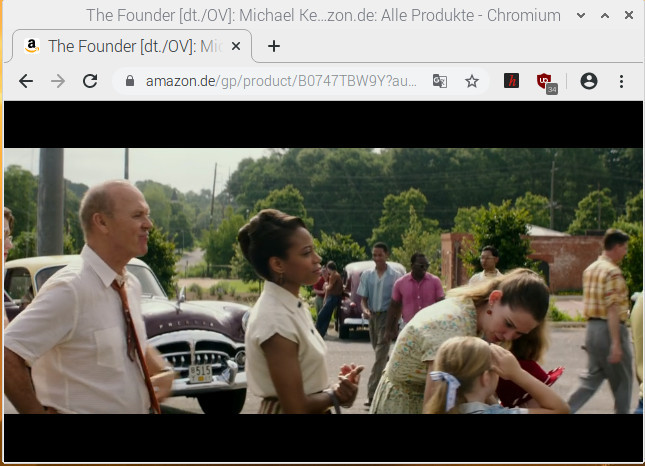
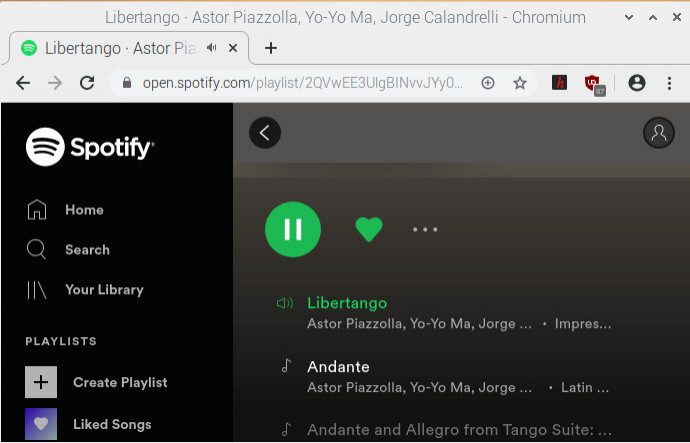
you can use the Chromium web browser to play videos from Netflix, Hulu, HBO, Disney+, Amazon Prime, Spotify, Pandora, and many others (see Fig. 1 & 2).
![Supported Browser]()
Fig. 1: Playing videos on Amazon Prime
using Chromium on the Raspberry Pi OS.![Supported Browser]()
Fig. 2: Playing music on Spotify
using Chromium on the Raspberry Pi OS.AnthonyD wrote in the comment section:
That is a great solution to the DRM problem on Raspberry Pi! How is the video playback quality in Chromium? Do you know if it uses hardware acceleration or just the CPU?
Last week I had some time to run some tests and extended the tutorial to add support for hardware acceleration for the video decoding.
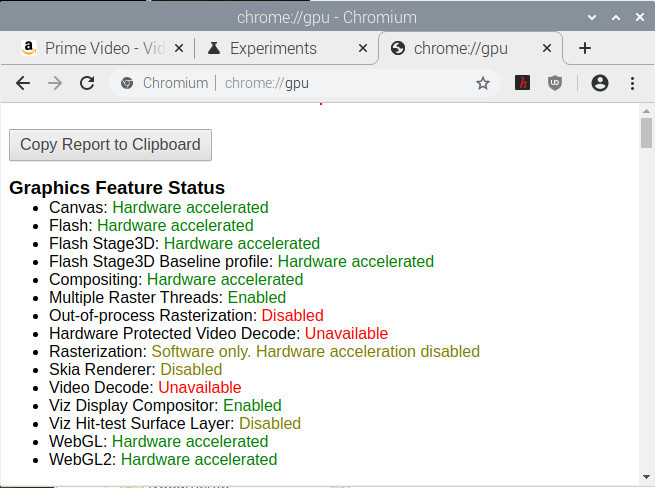
To answer that question, the video playback quality is good, however, per default Chromium uses Software (CPU) to decode the video. This means, no hardware acceleration.
![Graphics Feature Status - Software Acceleration]()
Fig. 3: Graphics Feature Status - Chromium on Raspberry Pi 4.But, we will change that on this tutorial!
You may be also interested in this tutorial: Raspberry Pi 4: booting from an SSD with enabled TRIMHardware and Software
You will need the following hardware and software for this tutorial:
DIY: Video Decode using Hardware Acceleration
You need to install a few libraries, but first, the basic step is to update the system typing the following on a Terminal:
sudo apt-get update
sudo apt-get upgrade
Then, install the libraries typing:
sudo apt-get install libgles2-mesa libgles2-mesa-dev xorg-devTo be able to activate the hardware acceleration, first we need to enable the 3D video driver (so-called Fake KMS), and then set the memory to e.g.
128 MB(this is usually a default value). To do that:- Start the
raspi-configconfigurator, typing in a Terminal:sudo raspi-config - Go to
Advanced Options>GL Driver - Select the option
GL (Fake KMS) OpenGL desktop driver with fake KMSand Click OK - Go to
Performance Options>GPU Memory(on old Raspbian/Raspberry Pi OS:Advanced Options>Memory Split) - Type
128and click OK - Select Finish and Reboot the system.
Note: if you're new to this configurator, you can navigate the menu using the
arrowsand thetabkey from your keyboard.Once your Raspberry reboots, you can check that the 3D drivers are loaded and working:
cat /proc/device-tree/soc/firmwarekms@7e600000/status
cat /proc/device-tree/v3dbus/v3d@7ec04000/status

# on Raspberry Pi 3 the v3dbus command should be (provided by Alexis in the comments):
cat /proc/device-tree/soc/v3d@7ec00000/status
If both commands return
okay, then the hardware acceleration is working and activated.Enable hardware acceleration in Chromium
If open a Chromium and go to
chrome://gpu, you will still get Fig. 1. To change that, we need to go tochrome://flagsand search for- Override software rendering list
- GPU rasterization
- Out of process rasterization
- Hardware-accelerated video decode (only available on the new versions of Raspberry Pi OS)
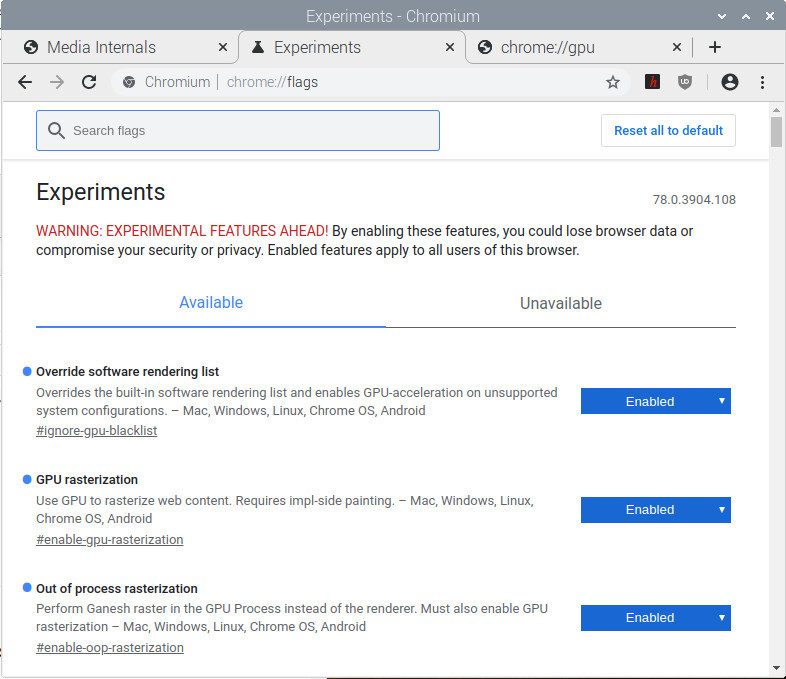
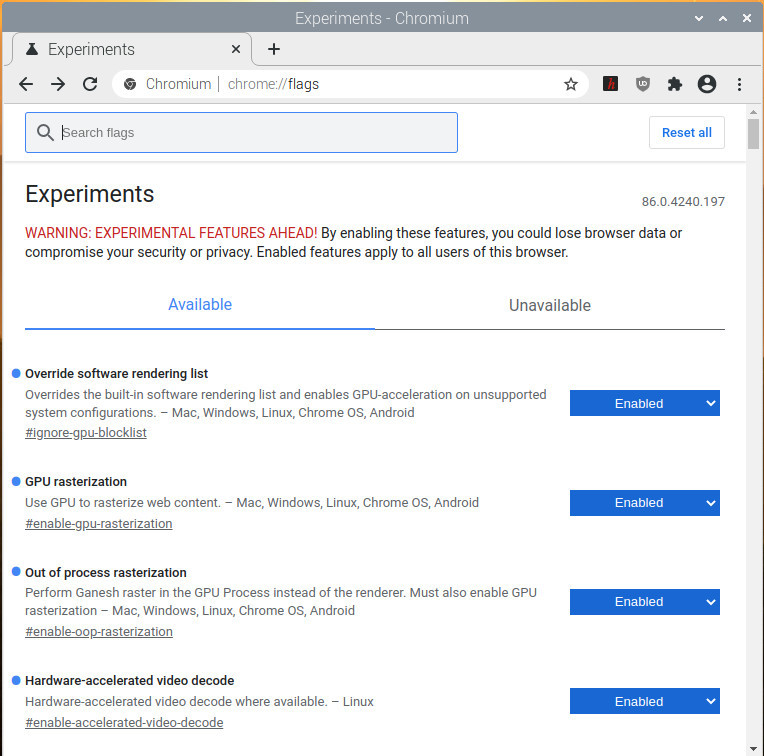
and change those settings to Enabled (see Fig. 4a/4b). After restarting the web browser, you can refresh
chrome://gpuand you will get Fig. 5.![Chromium flags - hardware acceleration]()
Fig. 4a: Chromium flags - Setting flags to activate the Hardware Acceleration (old Raspbian/Raspberry Pi OS).![Chromium flags - hardware acceleration]()
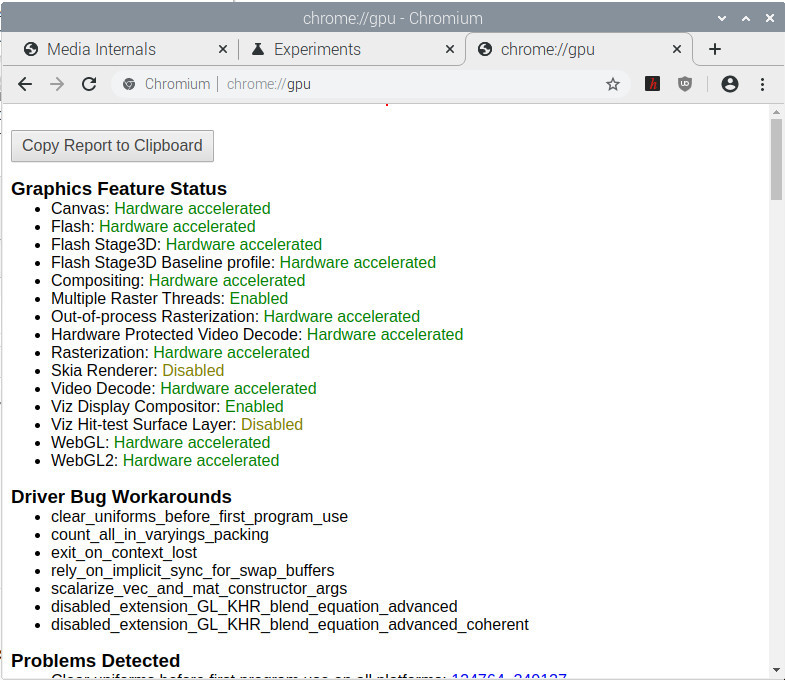
Fig. 4b: Chromium flags - Setting flags to activate the Hardware Acceleration (new Raspberry Pi OS).![Graphics Feature Status - Hardware Acceleration activated]()
Fig. 5: Graphics Feature Status - Video Decode: Hardware accelerated.You can check if a video is decoded using hardware or software checking the
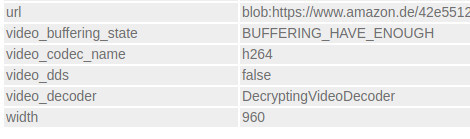
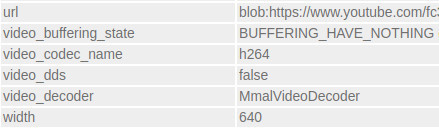
chrome://media-internals/URL while playing it. Fig. 6 shows the software decoder (before the changes). Fig. 7 indicates that theMmalVideoDecoderdecoder is being used (after the changes). This is the Broadcom’s library for H.264 hardware acceleration on the Raspberry Pi.![Video Decoder: DecryptingVideoDecoder]()
Fig. 6: Media internals - Software Decoder![Video Decoder: MmalVideoDecoder]()
Fig. 7: Media internals - Hardware DecoderReduce screen tearing (Update 20.08.2020)
You will still get the occasional "screen tearing". You can find more information about this on the forum topic.
The solution is to disable the
xcompmgrcomposition manager. To do that, you can move/remove thexcompmgr.desktopfile typing:sudo mv /etc/xdg/autostart/xcompmgr.desktop /home/pi/backup.xcompmgr.desktop sudo rebootor you can follow these steps:
- Start the raspi-config configurator, typing in a Terminal
sudo raspi-config - Navigate to
Advanced Options>Compositor>xcompmgr composition manager - Choose
No - Reboot the Raspberry Pi
sudo reboot
That should resolve most issues! I still noticed a bit of screen tearing.
Possible Issue: Raspberry Pi HD Camera - ENOSPC error
After activating the GPU acceleration in Chromium, I got the following error while trying to take a photo with the HD camera and playing some Youtube video.
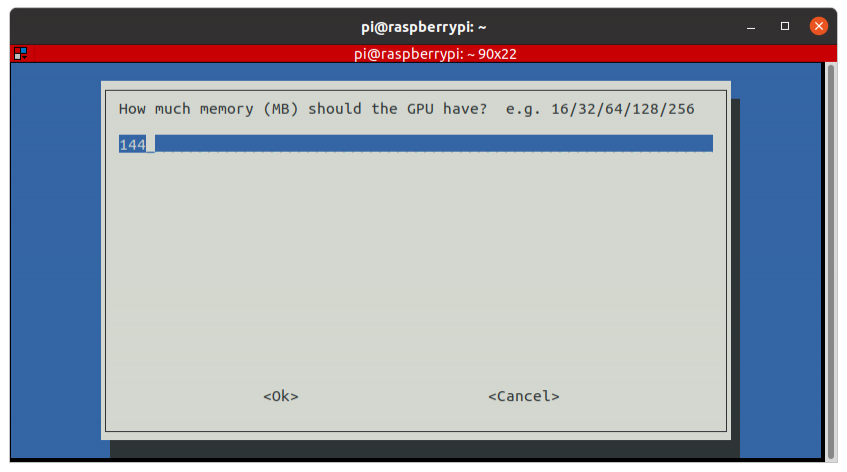
# raspistill -o /tmp/capture.jpg
mmal: mmal_vc_component_enable: failed to enable component: ENOSPC
mmal: camera component couldn't be enabled
mmal: main: Failed to create camera component
mmal: Failed to run camera app. Please check for firmware updates
Increasing the CPU memory from 128 to 144 made the error go away:
sudo raspi-config # old Raspbian / Raspberry Pi OS: # 7 Advanced Options > A3 Memory Split # new Raspberry Pi OS: # 4 Performance Options > P2 GPU Memory![Chromium flags - hardware acceleration]()
Fig. 8: Extending the CPU Memory using raspi-configI described the issue as possible, because I tried to reproduce it and did not get the error again. However, I wrote it here, in case someone needs to deal with it.- Start the
We use cookies to improve our services. Read more about how we use cookies and how you can refuse them.
 in Chromium")

")

-")
")


Empty